Key takeaways
- Sign up with a business email to get 100 free credits.
- Prepare a clean CSV with one email column before uploading.
- Read results by category: safe to send, invalid, disposable, role, catch-all, unknown.
- Export the statuses and import only the right segments into your email platform.
- Add the widget or API to your forms so the list stays clean.
In this guide
- Before you start
- Step 1: Create your account
- Step 2: Prepare your file
- Step 3: Upload and verify
- Step 4: Read the results
- Step 5: Download and segment
- Step 6: Update your email platform
- Step 7: Handle catch-all addresses
- Step 8: Verify single addresses
- Step 9: Protect your forms
- Step 10: Schedule the next cleaning
- A recommended routine with DeBounce
- Connecting DeBounce to Brevo
- Sharing the account with a team or agency
- Reading the summary like a pro
- In one minute
- Quick troubleshooting
- Frequently asked questions
Before you start
Have these ready:
- A business email address to create your account (some verification services ask for one to limit abuse).
- Your list as a CSV file, ideally cleaned of formatting problems and obvious duplicates. See how to clean an email list in Excel.
- Your suppression list from your email platform, so unsubscribed contacts are not re-imported later.
Interfaces change over time, so menu names below may differ slightly from what you see. The steps stay the same.
Step 1: Create your account
- Go to DeBounce's website and sign up.
- Confirm your email address.
- You receive 100 free credits, without entering a credit card. Each standard verification uses one credit.
Use these credits for a test sample before buying more. That shows you what your list contains and how many credits you will need.
Step 2: Prepare your file
DeBounce accepts common spreadsheet formats. For the smoothest result:
- Put one email address per row, in one column, with a header such as
email. - Remove empty rows and obvious junk (test entries, non-email text).
- Upload only the email column if possible. Names and other details are not needed for verification and do not need to leave your systems.
- Save as CSV UTF-8 to avoid character problems.
Duplicates are removed automatically by DeBounce at no extra cost, but removing them yourself first keeps your file tidy.
Step 3: Upload and verify
- Open the bulk verification or list upload section of your dashboard.
- Upload your CSV file and confirm the column that contains email addresses.
- Check the number of credits the verification will use, then start it.
- Wait for processing. Small lists finish in minutes; larger lists take longer depending on size and domains. You do not need to keep the page open.
Step 4: Read the results
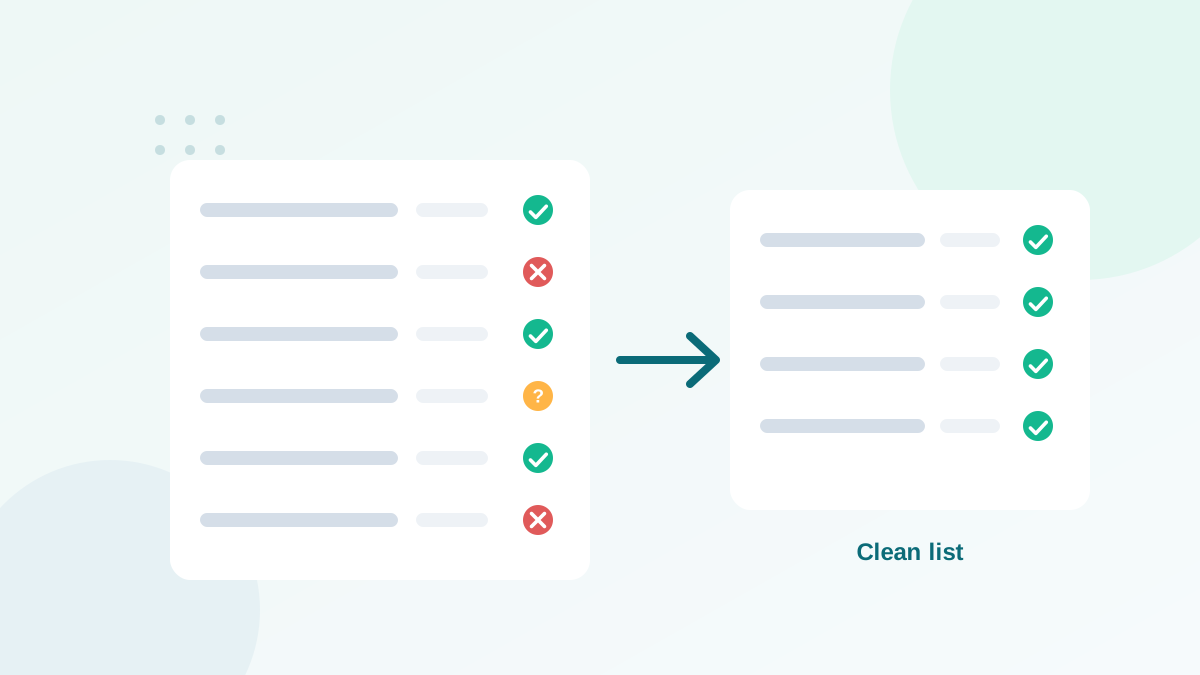
When verification is complete, you see a summary of statuses. Here is how to act on each one:
| Status | Meaning | What to do |
|---|---|---|
| Safe to send / deliverable | The mailbox exists | Import and send |
| Invalid | Syntax, domain or mailbox does not exist | Remove |
| Disposable | Temporary address | Remove; see disposable emails |
| Role | Shared address such as info@ | Keep only with opt-in; see role-based emails |
| Accept-all (catch-all) | Domain accepts everything | Separate segment or catch-all validation |
| Unknown | No clear server answer | Re-verify later; see unknown results |
Step 5: Download and segment
- Download the results file. It contains your addresses with their status.
- Open it in your spreadsheet tool and filter by status.
- Create three files: send (deliverable), review (catch-all, role, unknown) and remove (invalid, disposable).
- Store the results in your own systems. Do not rely on the verification tool as long-term storage.
Step 6: Update your email platform
You have two options:
- Import the "send" file into a clean list, or update existing contacts with a verification status field.
- Unsubscribe or delete the "remove" file in your email platform, so these addresses are never emailed again.
If DeBounce offers an integration with your platform (for example Brevo, Mailchimp or HubSpot), you can connect it and verify contacts without manual exports. Check the integrations section of your dashboard.
Step 7: Handle catch-all addresses
For B2B lists, the catch-all group can be large. You can:
- Keep engaged catch-all contacts (recent clicks or purchases) in your normal sends.
- Send to the rest in small batches and remove anything that bounces.
- Use DeBounce's catch-all validation for valuable segments. It costs 10 credits per address.
More detail in catch-all emails explained.
Step 8: Verify single addresses
The dashboard also lets you check one address at a time, for example a new business contact or a customer who says they never receive your emails. Each check uses one credit.
Step 9: Protect your forms
Cleaning fixes the past. To keep the list clean, verify addresses at signup:
Option A: JavaScript widget
Add the widget script provided in your dashboard to the pages that contain your forms. It checks the email field as visitors type and blocks invalid or disposable addresses. WordPress users can also use plugins for common form builders.
Option B: API
Create an API key in your dashboard and call the verification endpoint from your server when a form is submitted. API access is included without a separate subscription. Keep the key secret, on the server only, and accept the address if the API does not answer quickly. Examples of the logic are in validating emails in code.
Policy advice (what to block and what to accept) is in real-time email verification for signup forms.
Step 10: Schedule the next cleaning
- Verify the whole list every 3 to 6 months.
- Verify every import before it enters your platform; see verify before CRM import.
- Consider list monitoring if you want automatic re-checks (2 credits per address per month).
- Because credits never expire, you can buy a larger package once and use it over time.
A recommended routine with DeBounce
| When | Action in DeBounce |
|---|---|
| Once, at setup | Verify the full list, add the widget or API to every form |
| Before each import | Bulk verification of the import file |
| Every 3 to 6 months | Bulk verification of the active list |
| Before restarting an old segment | Verify that segment first |
| Continuously (optional) | List monitoring for critical segments |
This routine keeps the list clean with a predictable use of credits.
Connecting DeBounce to Brevo
If you send with Brevo, check DeBounce's integrations section for the Brevo connection. Once connected, you can verify contacts from your Brevo lists without manual exports. Without the integration, export a list from Brevo as CSV, verify it in DeBounce, then re-import the valid contacts or unsubscribe the invalid ones in Brevo. Either way, remember to keep hard-bounced and unsubscribed contacts suppressed on the Brevo side.
Sharing the account with a team or agency
Agencies and teams often use one verification account for several projects. Agree on simple rules: name files clearly with the client and date, download results immediately, delete files from the dashboard when done if the feature is available, and keep the API key in a password manager. This keeps credits under control and data organized.
Reading the summary like a pro
The summary after verification tells you more than how many addresses to remove. Use it as a health check of your list:
- High invalid share: the list is old or came from a poor source. Verify more often and review collection.
- High disposable share: one of your offers attracts freebie hunters. Add real-time verification to that form.
- High catch-all share: a B2B audience. Plan catch-all handling.
- High unknown share: re-verify later before concluding.
Write the summary down after each cleaning to follow your list's quality over time.
In one minute
Sign up, use the free credits on a sample, upload a clean CSV, read the categories, export send/review/remove files, update your email platform, handle catch-all carefully, add the widget or API to your forms, and schedule the next cleaning. Once set up, the routine takes less than an hour per quarter.
Quick troubleshooting
| Problem | Fix |
|---|---|
| File rejected or columns mixed up | Save as CSV UTF-8 with one header row and one email column |
| Strange characters in names | Upload only emails, or re-save with UTF-8 encoding |
| Many unknown results | Re-verify unknowns after a few hours |
| Widget not showing messages | Check that the script is on the page and the field is an email input |
Frequently asked questions
What file format does DeBounce accept?
CSV and common spreadsheet formats with an email column. A simple CSV with one address per line is the most reliable.
How long does bulk verification take?
It depends on list size and the mix of domains. Small lists take minutes; large lists can take longer. You can close the page and come back.
Can I verify a single email address?
Yes. The dashboard includes single verification, which uses one credit.
How do I get the API key?
In your DeBounce account, open the API section, create a key, and use it in your requests. Keep the key secret and use it only from your server.
Should I download my results right away?
Yes. Download and store your results soon after verification; do not rely on the tool as long-term storage for your data.